Drysuit Repair, Cleaning, Storage & Care Tips
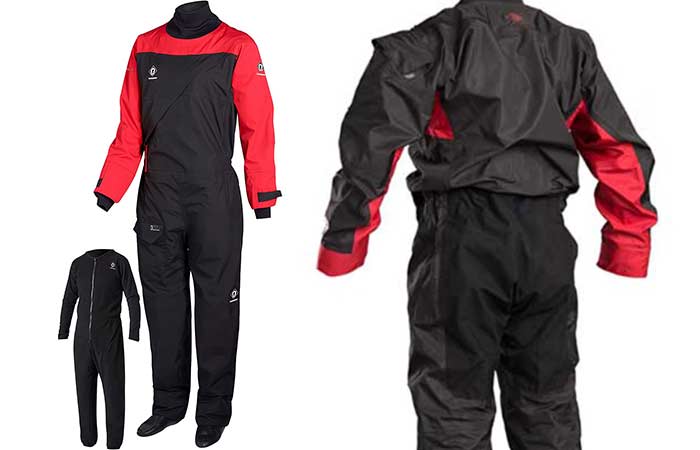
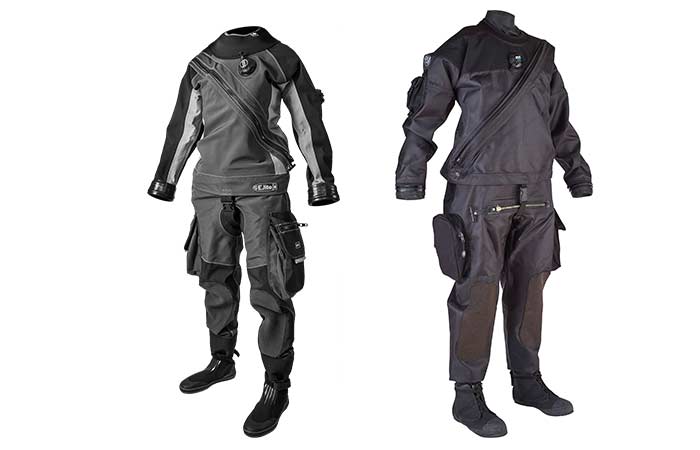
Drysuits offer among the best levels of protection when in the water. They keep you dry and warm in the water. They’re usually made of high quality materials which ensures their toughness and durability against the harsh conditions in and on the water.
However, with time, they can get nicked by rocks, twigs and parts of the gear and may plainly get worn out due to the natural process of aging. They will then develop holes and creases which need to be fixed before they render the drysuit unusable.
With the right knowledge, you can easily repair and generally take good care of your drysuit so that it serves you better and for longer. Keep in mind that a small hole or tear, if not fixed, can easily mess up your trip as water will enter the suit and make you cold or destroy the drysuit.
Drysuit Repairs
A single hole on your drysuit can render it unusable as water will flow in and make you cold. Given that drysuits are costly items not bought frequently, you’d rather fix the tear or hole than going for a whole new drysuit.
Supplies
Arm yourself with the following items:
- Isopropyl alcohol
- Tape
- Aquaseal FD Repair Adhesive
- Rubber gloves
Procedure
The steps are as follows:
- Turn your drysuit inside out.
- Mark the puncture or create a backing for it with tape of it’s a large hole.
- Generously fill the hole with Aquaseal FD Repair Adhesive ensuring you cover at least ¼ of an inch away from the hole for the best covering.
- When the adhesive is dry, remove the tape backing and use it for your watery endeavors.
It’s always good to know exactly where the suspect hole is. For example, you can dab the area you suspect with a piece of cloth dabbed in isopropyl alcohol to see the hole as it’ll have a color contrasting the main one.
Gasket/Seal Replacement
The seals or gaskets of your drysuit are the rubbery parts at the neck, wrists and ankles. They keep out water from entering your drysuit by providing a watertight seal at the neck, wrist and ankles respectively. With time, they get lose their ability to keep out the water and need fixing or a replacement. They may also get torn or damaged in other ways.
You can easily fix them in about 10 minutes with the supplies and procedure below.
Supplies
You need the following items:
- Aquaseal FD Repair Adhesive
- Isopropyl alcohol
- Tape
- Revivex UV protectant
- Rubber gloves
Procedure
Follow these steps:
- Turn the drysuit inside out.
- Clean the damaged area with the isopropyl alcohol mentioned above. If the drysuit is made of latex, scrub the area with sandpaper before cleaning it up.
- Fill the torn area with the Aquaseal FD Repair Adhesive making sure you feel up to about ¼ of an inch away from the edges of the hole. Saturate the fabric with the brush to obtain a good seal.
- Put it on a level place and leave to dry overnight.
- If the gaskets are exposed to lots of sunlight, apply a generous coat of Revivex UV protectant to keep them in good condition.
Always protect your drysuit from the elements including the sun, extreme temperatures, saltwater and chemicals such as chlorine.
Some other gasket maintenance tips include the following:
- Keep them away from heat and sunlight as much as possible.
- Always wash and dry them up after using the drysuit.
- Keep it away from sunscreen and other such chemicals as they damage latex which the gaskets are made of.
- Always apply a UV protectant on the gaskets to keep them from getting damaged by the sun.
- Don’t store the drysuit in moist and hot conditions as its parts will easily get damaged.
- Keep the gaskets from coming into contact with copper and its alloys as they’ll get destroyed.
With these aspects in mind, your gaskets and drysuit will serve you well and for long.
Zipper Repair and Care
Most quality drysuits come with plastic or metal zippers. While they rarely have issues, plastic zippers may often get jammed especially after being used for a while. This, however, isn’t a common occurrence.
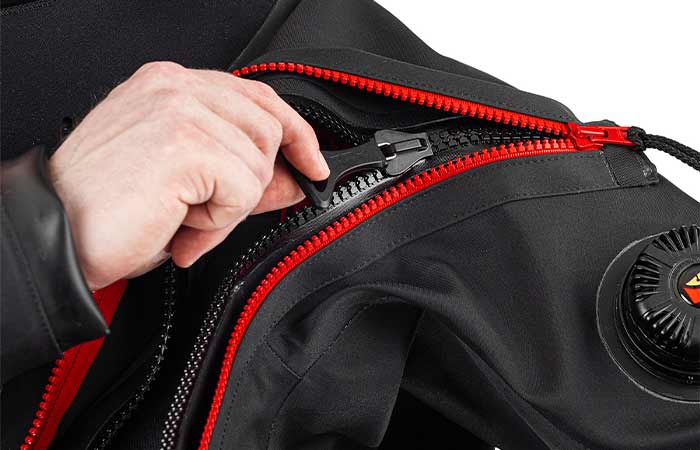
When your zipper breaks down and doesn’t work anymore, you should use a zipper repair kit to have it in working condition again. A typical repair kit has a lubricant and lubricant stick which is used to remove any residues in the zipper and applying the lubricant.
When storing your drysuit, have them open to prevent compression set which renders them ineffective.
Some other tips for the zipper include the following:
- Always open the zipper before getting in and out of the drysuit.
Emergency Repairs
When you’re out on the beach or boat and your drysuit gets ripped or punctured, you’ll have no time to get all your repair gear to fix it up. As such, you need some emergency items to quickly patch up the drysuit and get diving again.
Some of these items included contact cement for the type of drysuit matrix you have. For example, if your drysuit is made of neoprene, get a neoprene-based contact cement. Make sure it’s also q quick-dry option for faster sealing of the affected areas.
With such cement, you’ll simply apply the first coat on the torn area, wait for five minutes then apply a second coat. After that, simply press the glued surfaces together and hold for 5 minutes for the seal to dry up properly. After that, you’ll be good to go.
Washing A Drysuit
You should always wash your drysuit after each session in the water with it. This removes substances such as oil from your skin, This removes substances such as oil from your skin, sunscreen and salt water which, if left on the drysuit, will eventually damage it. At all costs, avoid the washing machine as it’ll damage your zippers and other delicate parts.
Supplies
You need the following items:
- Clean fresh water (non-salty and without chemicals)
- Sponge or soft brush
- Drysuit cleaner
Procedure
Follow these steps to clean your drysuit:
- Open the zippers of your drysuit then turn it inside out.
- Wash the inside then the outside of the drysuit making sure you cover every inch of it.
- Hang the drysuit by a hanger and away from direct sunlight and heat.
- When one side is dry, dry the other side (inside and outside).
- Treat the gaskets with the right powder or protectant to keep them in good working condition.
Store your suit keeping in mind that you don’t fold it too closely lest it develops some permanent creases.
Storing Your Drysuit

When storing your drysuit, put the following aspects in consideration:
- Keep it in a cool and dry place indoors.
- Keep it free from moisture, artificial UV light, sunlight and ozone.
- Don’t fold it up. Instead, keep it on a thick hanger or combine a few hangers.
- Don’t place it on the ground.
- Put it in a plastic bag to prevent it from drying up when storing for a long time.
Also, keep it from oils and other substances that may damage it.
More on Drysuits